

Here we go again with another Sewing By Ti blog tour, this time with a special guest model: my mom! (aka Linda)

The blog tour theme being “It’s Getting Hot in Here”, I decided I go with dresses because I can’t think of anything better to wear in the actual warm weather we’ve finally been having in Chicago!
I originally had planned a different dress to write about, but I decided to post this one instead. My mom’s birthday was on Friday, so we celebrated on Saturday and I sewed her this modified Sweetheart dress. I was using somewhat older measurements I had (to maintain the surprise) and modified the bodice for height (she is 5′) but I think it turned out really well! I also decided to fully line the bodice instead of using binding and added a waistband to emulate a dress she already owned and liked.

As you can probably tell, she really likes it! As soon as I saw this floral ITY fabric I knew I had to get it, because it’s so pretty and looks like watercolors. Also, she needs to wear blue for work so I knew this way the dress could be work-friendly as well. 🙂


I originally didn’t cut the straps wide enough to compensate for the seam allowance when lining as well as the lack of binding. So I cut another one and this time it turned out much closer to how wide the straps are when not lined and with binding. I’m planning another dress like this for her and will likely widen the straps just a bit but overall I’m pleased with the fit here! It doesn’t help that the Sweetheart dress is incredibly flattering on anyone I’ve seen wear it! No exception here.


I chose to line the bodice because the ITY fabric I found was a bit sheer and I knew when stretched it would be even more so. In addition to that, the full circle skirt can be pretty heavy with ITY (I knew this from a previous ITY dress I’d made). And lastly, I really didn’t feel like dealing with binding with a fabric that doesn’t iron well and I didn’t want to use a contrasting fabric because I felt that would somewhat ruin the classy nature of this print and pattern.

All in all it worked well and I don’t mind doing this method instead of binding. I will say, if I’m using something like cotton lycra I actually enjoy doing bindings because I find them somewhat cathartic. Call me weird!

After the mini-photoshoot, we decided to do a few pictures together because my dress happens to coordinate perfectly with the colors in the floral! I had actually originally used the same fabric as my dress for the lining in hers, but as I mentioned, I needed to cut a new one due to my error with the straps. Then I ended up using leftover scraps from the May BeeBox! Perfectly soft and somewhat better as lining anyway.


My dress is the Scarlet Swing Dress, with cold shoulder option. It’s the same pattern I made for my March BeeBox dress, which I loved. So I decided I needed another one!
I’d have to say that my mom is certainly the only reason that I started sewing in the first place. Not only did she constantly sew for my brother and I when we were younger, but Halloween costumes every year growing up, costumes for theater productions I was in, sewed her own dress for my wedding, and even added an intricate Beauty and the Beast style bustle to my wedding dress when I decided I was too picky for any of the typical bustle styles.


She also gave me my sewing machine for Christmas, let me borrow her serger for 6 months, then gave me my own serger later. Her remarks of “Oh, we could sew that” when shopping have certainly rubbed off on me, as you can clearly tell!


We then decided to do some classy “spinning” pictures just for fun. 🙂 Thanks mom, for being my willing model unexpectedly and for the years of inspiration.
And to you, my reader, make sure to hop on this blog tour for the month of June and check out all of these posts by my lovely follow bloggers. I’m at the beginning here but we’ll be blogging all month long!
Elisabeth
Edit: PS. Due to popular request, I’m adding a quick tip on how to create the waistband look on the bodice of the Sweetheart dress. Here’s what to do:
1. Take your bodice pieces, front and back.
2. Cut about 2″ off the bottom of each piece. This is my back piece. While cutting, be sure to add 1/2″ seam allowance to the bottom of the bodice and top of the piece you’re cutting off. 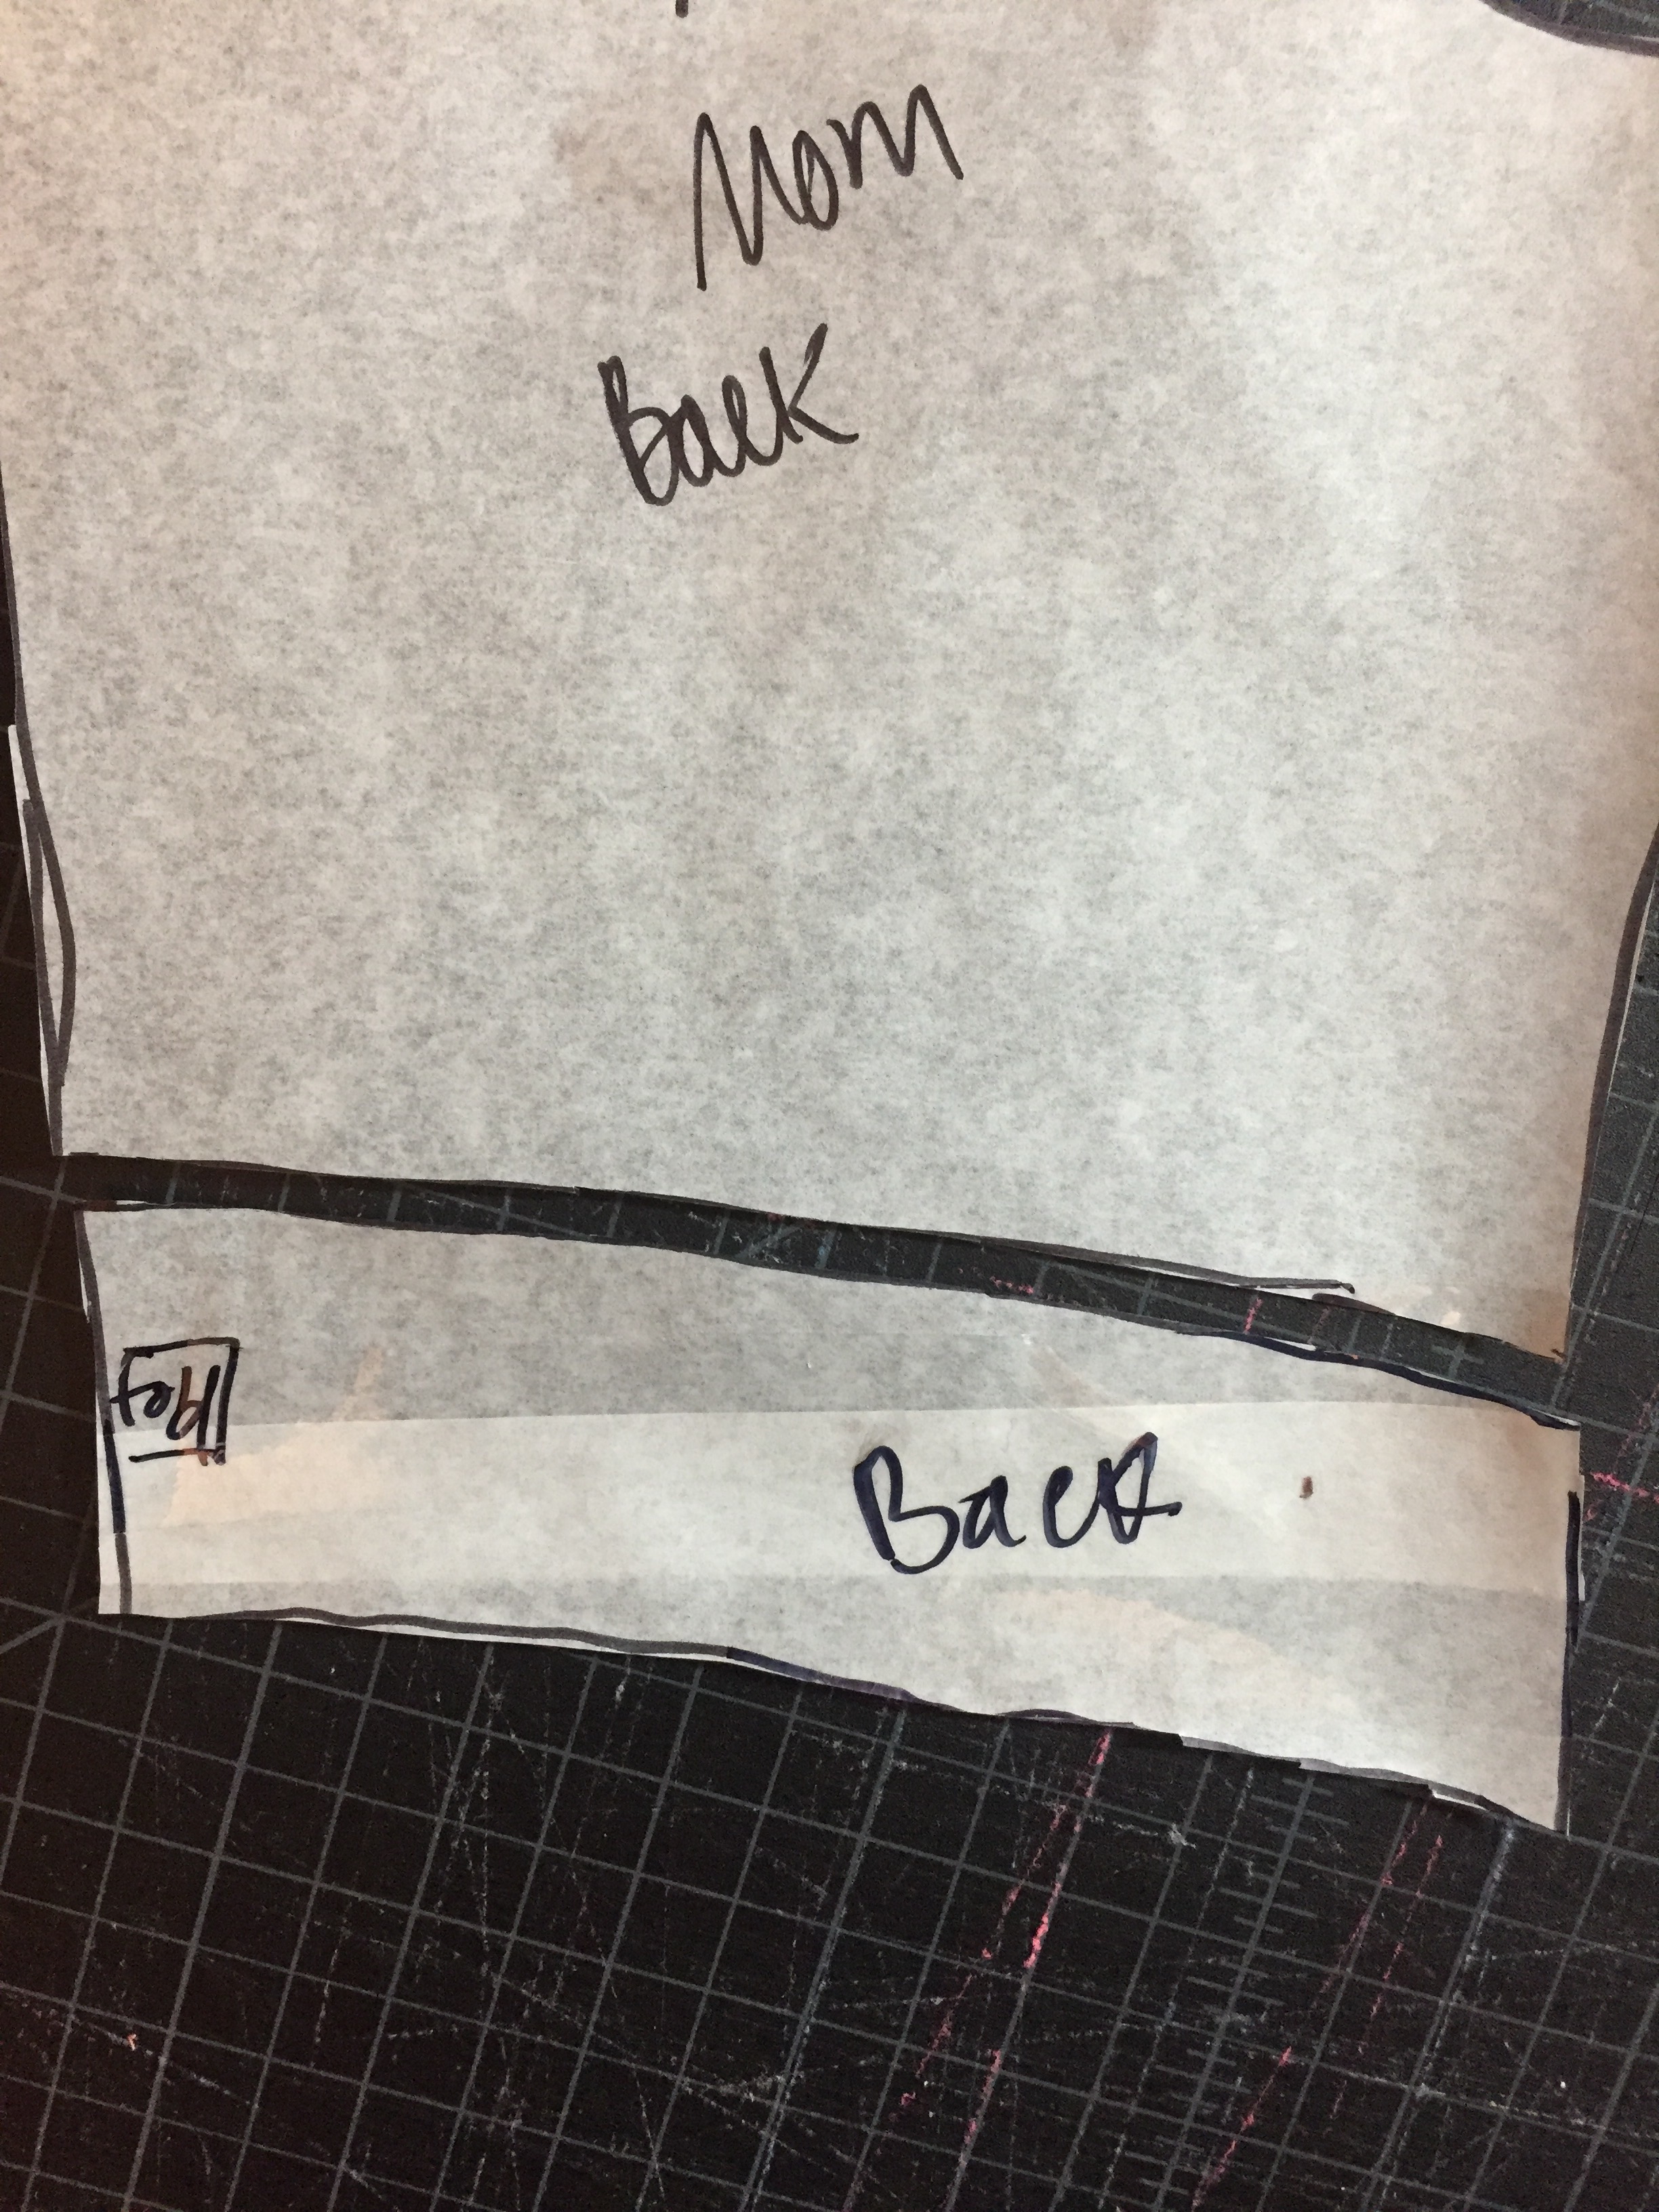
3. Sew bodice as usual, including side seams.
4. Sew side seams on the 2″ pieces you cut off. You’ll now have essentially a band much like a neck or arm band.
5. Attach to the bodice right sides together by pinning at 4 quarters on the “band” as well as the bodice, matching the pieces together at the pins.
6. Proceed as the pattern instructs (attach skirt) and treat the bodice as one normal piece now!
—

June 1st- Sewing By Ti
June 2nd- Sewing By Ti
June 5- Stitching and Making
June 6- Doodle Number 5
June 7- That’s Sew Lily
June 8- EYMM
June 9- Ma Moose
June 12- Tales from a Southern Mom
June 13- Robynne and the Bobbin
June 14- Hazelnut Handmade
June 15- Anne Mari Sews
June 16- On Wednesdays We Sew
June 19- Tenille’s Thread
June 20- It’s Liesel
June 21- Lillie Pawillie
June 22- Needles to Say
June 23- Sewing By Ti
June 24- Fox Flower Lane
June 26- Indulging Mum
June 27- Creative Counselor
June 28- Sprouting Jube Jube
June 29- Anne Mari Sews
June 30- Sewing By Ti

So cute! How did you put in the elastic waistband?
LikeLike
Thanks! It’s actually not elastic, just a band of the same fabric. I cut about a 2″ piece off of the bottom of the bodice, added seam allowance to the strip and the bodice, and then sewed back together. Super easy!
LikeLike
The dress is beautiful, and she’s lovely in it! Also, I love that you included the picture of you when you were green, haha. Whenever I see anything about Wicked, it still makes me think of you. 🙂
LikeLike
For the band…did you sew it like a normal band? What I mean is: after you sewed he side seem to make it a loop, did you fold it half lengthwise before you attached it to the bodice, like you do if adding a binding to the bottom of a shirt?
LikeLike
No, I kept it a single layer. You could easily do that folded if you doubled it in length, or cut two, however.
LikeLike
Your mom looks great! The fabric choice was just perfection. I love everything about this!
LikeLiked by 1 person